AcademyAi SoftwareMARKETING
Tracking website visitors is one of the most strategic ways to understand lead behavior and personalize engagement at scale. With The Vault CRM, you can go beyond simple page views and dive deep into who’s interacting with your website, what they’re doing, and how they’re converting, all in one place.
Here are the steps to integrate visitor tracking into your CRM workflow, using The Vault CRM’s native tools and capabilities.
STEP 1: Connect Your Website
To begin tracking visitors, the first requirement is connecting your website to The Vault CRM. This step establishes a data pipeline from your site to your CRM environment. Once installed, the tracking code starts collecting anonymous visitor data immediately. The system captures behaviors such as page visits, referral sources, and time spent, without requiring user logins.
- Log in to the Vault CRM dashboard.
- Navigate to Website Integration under the Settings or Admin section.
- Choose Install Tracking Code. The platform will generate a unique JavaScript tracking script.
- Copy the code snippet.
- Paste the script into your website’s global header (between <head> tags). For CMS platforms like WordPress, this can be done through a header injection plugin or theme editor.
- Save and publish changes.
STEP 2: Enable Visitor Timeline
Once your site is connected, activate Visitor Timeline in your CRM dashboard. It begins populating as site visitors engage. You can click on individual sessions to view granular actions, such as form interactions, CTA clicks, or cart behavior. This feature creates a chronological feed of user actions, offering a session-based view of engagement.
- Go to the CRM’s Contacts section.
- Click Settings > Visitor Tracking.
- Toggle on Enable Visitor Timeline.
- Optional: Filter timeline tracking by traffic source (e.g., direct, social, ads) or page group (e.g., blog, service pages).
STEP 3: Identify Known Visitors
Anonymous visitor data becomes exponentially more valuable when paired with identity resolution. Once a user completes the form, their past browsing behavior is retroactively linked to their CRM profile. This creates a full behavioral history tied to a known contact, and the Vault CRM enables this via integrated web forms.
- In the CRM, navigate to Forms & Lead Capture.
- Choose Create Form or select a prebuilt template.
- Add essential fields like name, email, phone, and company.
- Embed the form on high-intent website locations, such as landing pages, exit popups, or blog CTAs.
- Ensure form submission redirects to a confirmation page (tracked for conversions).
STEP 4: Use Dynamic Segmentation
Segmentation allows you to categorize users by behavior, enabling smarter automation and outreach. These dynamic segments update automatically as visitor behavior changes. You can use them to trigger workflows or assign leads to specific sales reps.
- Head to Contacts > Segments in the CRM.
- Click Create New Segment.
- Set conditions based on tracked behavior. Examples include:
- Visited more than 3 service pages
- Spent more than 5 minutes on the site
- Returned to the site within 7 days
- Name and save the segment.
STEP 5: Set up Automated Workflows
The Vault CRM supports automated sequences that respond to visitor behavior in real time. Each workflow can be customized using CRM variables, ensuring personalization based on the visitor’s interaction history.
- Go to Automation > Workflows.
- Click Create New Workflow.
- Choose a trigger, such as:
- The visitor submits a form
- Contact joins a behavior-based segment
- Add actions, like:
- Send a personalized email
- Notify the sales team via CRM alert
- Update contact status to “Marketing Qualified Lead (MQL).”
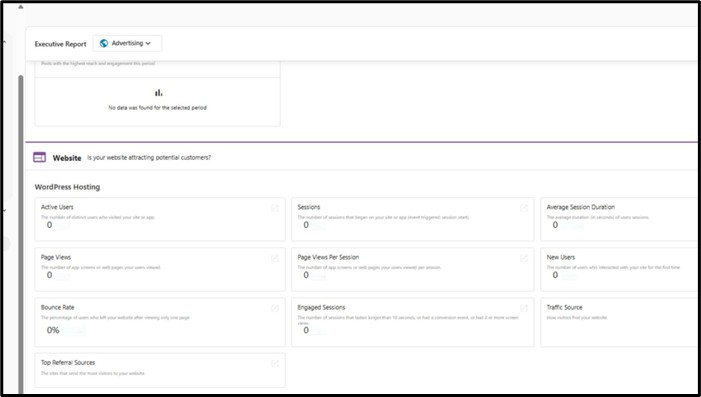
STEP 6: Analyze Your Visitor Data
With data flowing into The Vault CRM, it’s essential to analyze it for patterns and performance insights. These analytics help refine your content, optimize form placement, and allocate marketing budget based on actual lead generation performance.
- Open Reports > Web Visitor Insights.
- Review metrics such as:
- Top pages by engagement
- Conversion rates per page
- Traffic sources by lead quality
- Bounce rates and return visits by segment
- Use Custom Dashboards to tailor views for marketing or sales teams.
STEP 7: Integrate with third-party tools
For advanced needs, The Vault CRM allows integrations with platforms like Google Analytics, advertising networks, or external form builders. This ensures that CRM visitor data complements your broader martech stack while centralizing lead insights in one interface.
- Navigate to Integrations under Admin Settings.
- Connect external tools using API keys or OAuth authorization.
- Map tracking data fields between The Vault CRM and external platforms.
Ready to start tracking the right website visitors and turning clicks into customers? Book a personalized walkthrough of The Vault CRM with Howell Studios to unlock smarter lead engagement today!